ebXML partner self-registration
The partner registration wizard provides a way for one community (a hub) to get many partners configured to trade messages with it. The registration wizard employs a CPA template to build a complete CPA for the hub and each partner. Both the hub and each partner use the CPA tailored for their trading relationship to engage in ebXML trading.
This topic is for partners who want to trade via the ebXML message protocol. For AS1 or AS2, see AS1 / AS2 partner self-registration.
Hub-and-spoke trading network illustration:
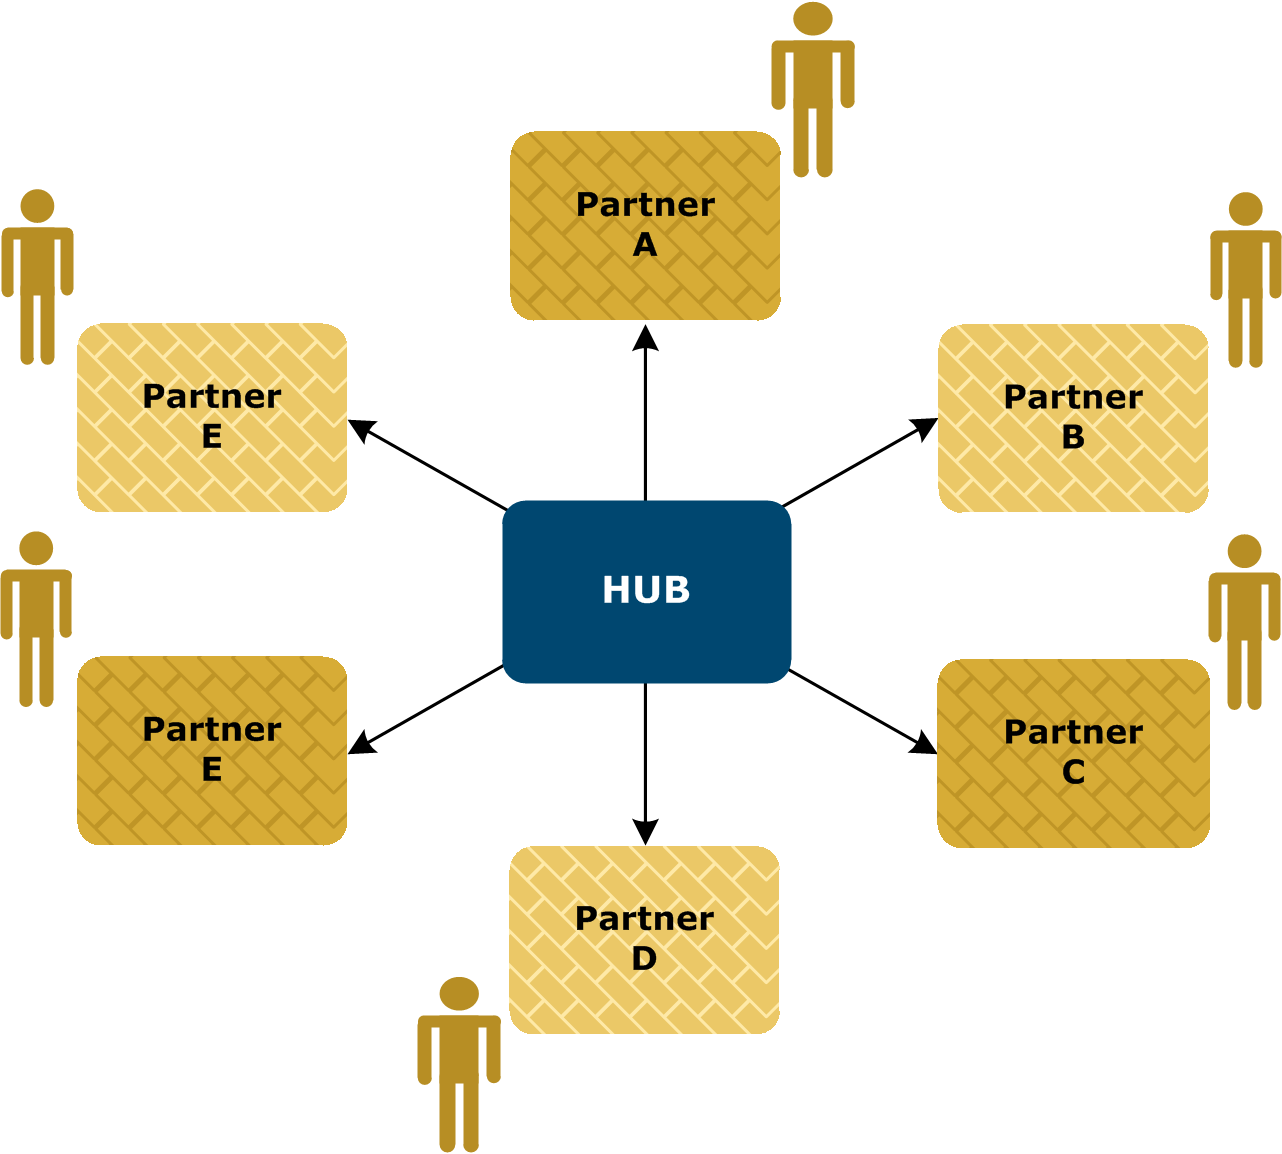
The hub must take the first steps in setting up the ebXML hub-and-spoke network. Its trading engine must be installed and configured properly. The hub’s community must be configured.
The hub also must have at least one CPA template. Constructing a template requires a thorough understanding of ebXML practices. Such knowledge is a prerequisite for implementing Activator for trading via ebXML.
Although spoke partners must be familiar with the operations of their trading engines, they do not need to know much about ebXML.
Related topics
ebXML hub procedure
Use this procedure if you are an ebXML hub and want partners to use the registration wizard to build CPAs. These steps must be completed before partners can use the wizard.
- Set a password for the partner user, if this has not already been done.
- When you log on to the user interface for the first time after installing, there is a link on the getting started page for Set a password for partner self-registration. Click the link and type a password for the partner user. This link only appears if your user license allows you to run the partner registration wizard.
- The system creates the partner user for you. Later, your partners will log on to your server’s registration wizard with the user ID partner and the password you specify.
- If the partner user already has been set up, check the users and roles area. Select Users and roles > Manage users or Users and roles > partner registrant.
- Create and configure your community. This includes setting up deliveries and a public-private key certificate for secure trading. The user interface provides guidance for creating and configuring a community. The user documentation also provides information. See Communities.
- Make sure the profile is fully configured. When partners use the registration wizard, information is extracted from your profile and combined with each partner’s information to turn a CPA template into a completed CPA.
- Import a CPA template document to your community. Go to the community summary page, click Manage CPAs at the bottom of the page, click Mange CPA templates and complete the fields for adding a template.
- Give your partners the following information:
- URL – The URL for connecting to the page for logging on to the registration wizard. The URL is in the following format:
http://<host>:6080/ui/
- The variable host is the fully qualified domain name or IP address of the computer running Activator.
- User name and password – The user name and password the partner must use for logging on to the registration wizard. Have the partner use partner and the password you specified for the partner user.
- Community name – The name of the community the partner should select to join in the registration wizard.
- Template name – The name of the CPA template the partner should select when using the registration wizard.
- When a partner uses the registration wizard, the system uses the CPA template to build a complete CPA. Your system imports the CPA and creates a partner for the just-registered partner. Meanwhile, the wizard prompts the partner to save the CPA on the partner’s local file system. If the partner uses Activator 5.0 or later and imports the CPA, the partner’s system creates your profile based on the information in the CPA.
- After a partner registers via the wizard, a message displays on the user interface home page, prompting you to approve the registration and associate the partner with your community. Click Trading Partners in the navigation graphic at the top of the community summary page, click Add a partner to this community, select Choose an existing partner and click Next. Select the partner and click Add.
Related topics
ebXML partner procedure
Use this procedure if you are a spoke partner and want to use the hub’s registration wizard to build a CPA that you can use to engage in ebXML trading with the hub partner.
- If you use Activator 5 or later, install Activator and log on to the user interface.
- If you use Activator 5 or later, create and configure your community. This includes setting up delivery exchanges and a public-private key certificate for secure trading. The user interface provides guidance for creating and configuring a community. The user documentation also provides information. See Add a community.
- Export your encryption certificate and public key to a file. Include all certificates in the certification path, if possible.
- If you use Activator 5 or later, export your community default encryption certificate and public key to a file. On the community summary page, click Certificates in the navigation graphic at the top of the page, click the certificate name and click Export this certificate. If you are exporting a self-signed certificate, you can export to a CER or PKCS #7 file. If you are exporting a third-party certificate, export to a PKCS #7 file and include all certificates in the certification path if possible.
- Keep this file. You need it later when you use the registration wizard.
- Collect and record the following information. This is information you need when using the registration wizard.
- The name of the community the hub wants you to join. The hub must provide this information.
- The name of the CPA template to use. The hub must provide this information.
- Your community name.
- Your community routing ID.
- Your community contact name, phone number and e‑mail address.
- The URL the hub should use to send messages to you. This is a URL or e-mail address for the ebXML message protocol HTTP or SMTP transport. If you use Activator 5 or later, you can find this by clicking Application delivery in the navigation graphic at the top of the community summary page. The URL or e-mail address is in the location column. You may want to consult with the hub about the URL to use.
- Open a new browser session and connect to the URL the hub provided for the registration wizard.
- To log on, type partner and the password the hub provided.
- Follow the prompts to complete the registration wizard. When prompted to provide the URL for sending messages to your community, this can be a usual HTTP URL (for example,
http://<host>.com:4080/exchange/1234) or for SMTP an e-mail address expressed as a URL (for example, mailto:company@mailserver.com).
- When prompted, save the CPA to your file system.
- Use the CPA to configure your Activator to exchange ebXML messages with the hub.
- If you use Activator 5 or later, import the CPA. Go to the community summary page, click Manage CPAs at the bottom of the page, click Import a CPA and complete the field for importing a CPA from a file. If the CPA is successfully imported, the system generates a partner for the hub and associates it with your community.
Related topics